Taking pictures during or close to sunset can be a beautiful way to capture the natural beauty of the world around us. I find that the majority of my favorite keeper images are taken during either sunrise or sunset. And by getting better at one of those, you’re pretty much guaranteed to get better at the other. Here are some great sunset photography tips to get you out taking better pictures in no time!
"I am a participant in the Adobe Affiliate Program, an affiliate advertising program designed to provide a means for me to earn fees by linking to Adobe.com and affiliated sites. Full disclosure here."Use these tips for epic sunset pics!
1) Scout your location beforehand:
Plan ahead and find a location with a good view of the sunset. This could be a beach, a hilltop, or any other location with an unobstructed view of the horizon.
When I was in Seattle WA in the fall of 2022, I had a few goal shots. There were a few touristy shots, Pike Place Market, Gum Wall, The Needle, etc. But the big ones were a sunrise shot from Kerry Park looking south down into the city while the other was a sunset shot looking north into the city.
I hopped on Instagram. Looked under the Seattle location and quickly found the park I was looking for. I even got there a few hours early to find the exact vantage point I wanted.
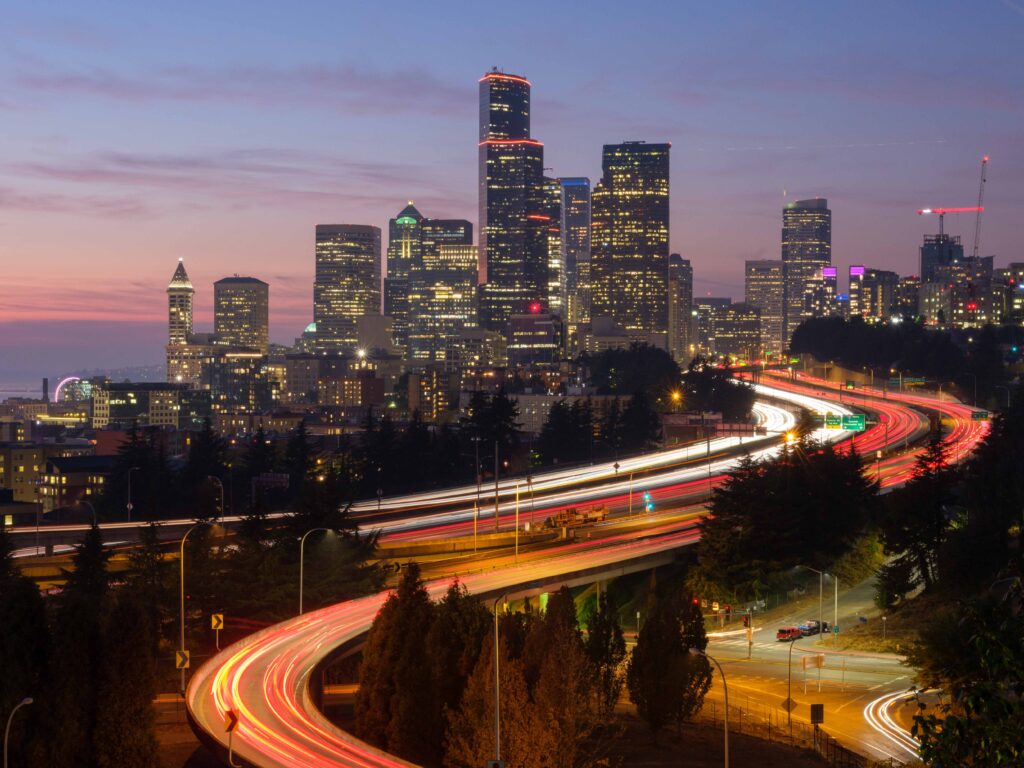
Extra tip: After all the scouting and planning, be sure to try and call dibs on the spot. Bring a book or do phone stuff and just wait for the right sunset moment. If I wasn’t at the Seattle spot so early, someone else would’ve grabbed it. They were friendly and moved on to another spot, but they definitely had also scouted out this location and knew what they wanted.
2) Bring a tripod
A tripod will help stabilize your camera (Amazon Link) and ensure that your photos are sharp and clear once the sun goes down.
You likely won’t need one as the sun goes down unless you are doing some long exposure work with filters.
But it will come in handy once the actual sun itself disappears and you are left with beautiful pinks and purples in the clouds.
3) Shoot in RAW
Shooting in RAW will give you more flexibility when it comes to editing your photos later on. It will allow you to adjust the exposure and colors to your liking without losing quality.
Especially if you are shooting directly into the sun. This can result in a very contrasty image. Shooting in RAW can help with that, but be sure to take them from a few different angles in case it can’t be fixed in post.
4) Use a low ISO
A low ISO will help reduce noise in your photos and produce a cleaner, sharper image. An ISO of 400 or lower will be great.
If you don’t have a tripod and still want to get shots after the sun itself goes down, try jumping up to 1600. Depending on the camera you have, these images will still work. And/or might be able to be fixed in post.
5) Use a variety of different lens
A wide-angle lens will allow you to capture more of the scene and help make your image more interesting. While a more zoomed-in lens will help you isolate the sun and/or its magnificent colors.
I also know that my Nikon 24mm f/1.8 lens has technology that helps eliminate or reduce some sun flares while my 50mm f/1.8 or 85mm f/1.8 do not.
This will help me produce a better image when facing the sun.
6) Use a filter (or two)
Filters can help reduce glare, improve the colors in your photos, and allow for long exposure work.
Polarizing Filter
A polarizing filter helps to reduce or eliminate unwanted glare and reflections from non-metallic surfaces such as water, glass, and foliage. It does this by blocking certain polarized light waves from entering the camera lens, which can help to improve the clarity and color saturation of your photos.
ND Filter
An ND (Neutral Density) filter is a type of camera lens filter that reduces the amount of light entering the camera lens without affecting the color of the image. It is essentially a dark piece of glass that is placed in front of the lens.

This is what helps you produce longer exposures even if it’s still really bright out.
Some are solid while others can vary. A variable neutral density filter can help the sunset’s images pop while keeping the foreground interest well-lit and almost untouched by the filter’s attributes.
7) Experiment with different camera settings
Try taking photos with different exposures to capture the full range of colors in the sunset.
I like switching to spot metering mode. Placing that on the sunset sky, then pulling out the details in post. Sometimes it works, sometimes it doesn’t. But I’ll be sure to take a few different pictures to make sure my evening wasn’t lost.
I also do not always carry a tripod. So I’ll often shoot wide open, aka with my aperture at f/1.8. This helps me bring in as much light as possible and control where I put the viewer’s eye. Could be the sky itself or some interesting subject in the foreground.
This brings me to the next sunset photography tip.
8) Look for interesting foreground elements
Including an interesting foreground element can help add depth and interest to your photos. Maybe it’s a cityscape, water breaking upon a beach’s shore, or even your BFF.
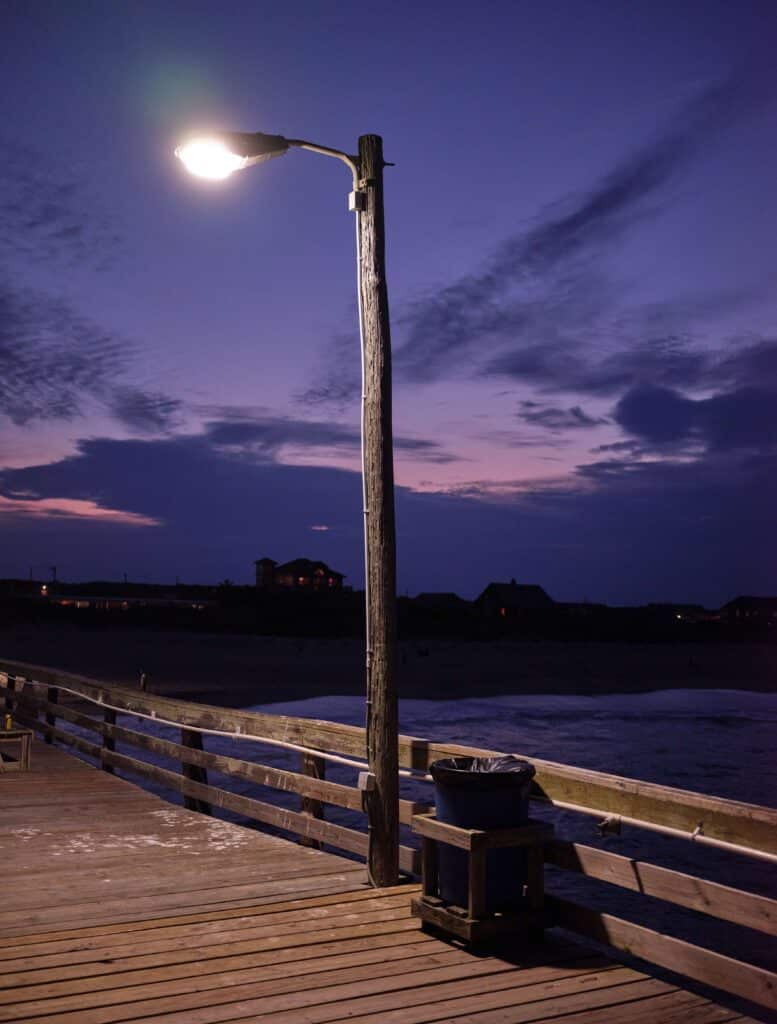
It doesn’t have to be just the sunset itself.
Mix it up.
Use your wide angle, get super close to a subject, and use the f/1.8 aperture setting if you have it to create some interesting stuff.
9) Keep shooting
The colors and lighting can change rapidly during sunset, so keep taking photos to capture the different stages of the sunset.
Some of my favorite images come 20 or 30 minutes after the sun has set.
It’s great because if you’re at a busy spot. The picnickers and lovers in awe will already have packed up and moved on. Leaving you more space to try new angles and see what works.
This happens just about every time at Libby Hill. A popular spot to watch the sunset in Richmond VA.
Wrapping Up
By following these tips, you can capture stunning sunset photos that you can cherish for years to come. Or share on Instagram for a quick hit of fame. The choice is yours. Get out there and keep practicing. Enjoy!